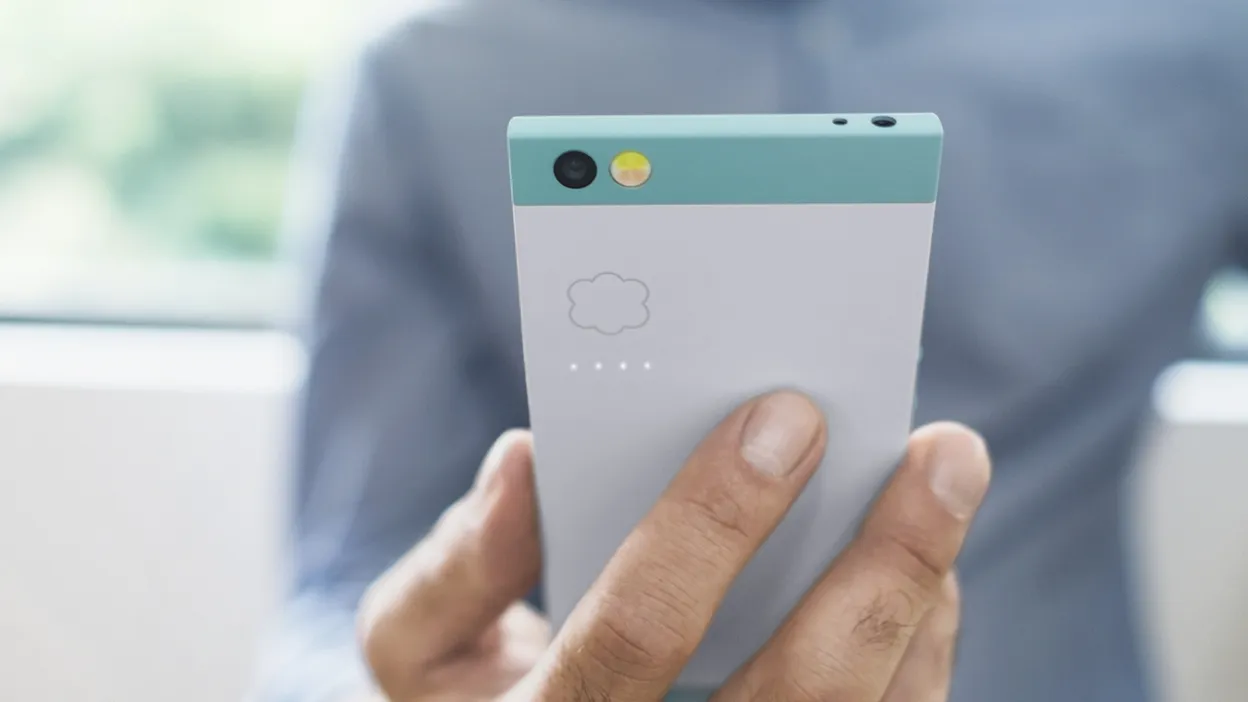
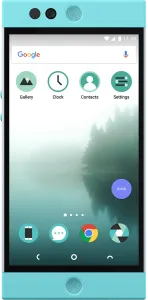
I prepared this workflow after the official instructions available at the time did not work on the Nextbit Robin I was configuring.
Unlock the bootloader
-
Install the Nextbit Robin USB driver.
-
Enable OEM unlocking under Settings > Developer options, if that option is present.
-
Connect the phone to the computer over USB.
-
Open Command Prompt on Windows or a terminal on Linux or macOS, then run:
adb reboot bootloaderYou can also enter Fastboot Mode by powering off the phone and holding Volume Up + Power.
-
Unlock the bootloader:
fastboot -i 0x2c3f oem unlock-go -
Reboot the phone if it does not reboot automatically.
-
Complete Android setup again and re-enable USB debugging, because the unlock resets the device.
Install TWRP with Fastboot
-
Download the current recovery image available for
etherfrom TWRP. The filename follows a pattern similar totwrp-x.x.x-x-ether.img. -
Connect the phone to the computer and return to Fastboot Mode:
adb reboot bootloader -
Flash the recovery image, replacing the filename when necessary:
fastboot -i 0x2c3f flash recovery twrp-3.1.1-0-ether.img -
Disconnect the phone and hold the Power button to turn it off.
-
Hold Volume Up + Power, then select Recovery.
-
In TWRP, format data and wipe the partitions required by the installation.
-
Copy LineageOS, the appropriate Google applications package if wanted, and the ARM64 Superuser package if root is wanted. Use USB storage or ADB:
adb push filename.zip /sdcard/ -
Install LineageOS first, followed by the optional application and root packages.
Notes
On the software available when this guide was written, TWRP could not access an encrypted data partition for later update flashes. FlashFire was one workaround used at the time for applying updates without recovery access.