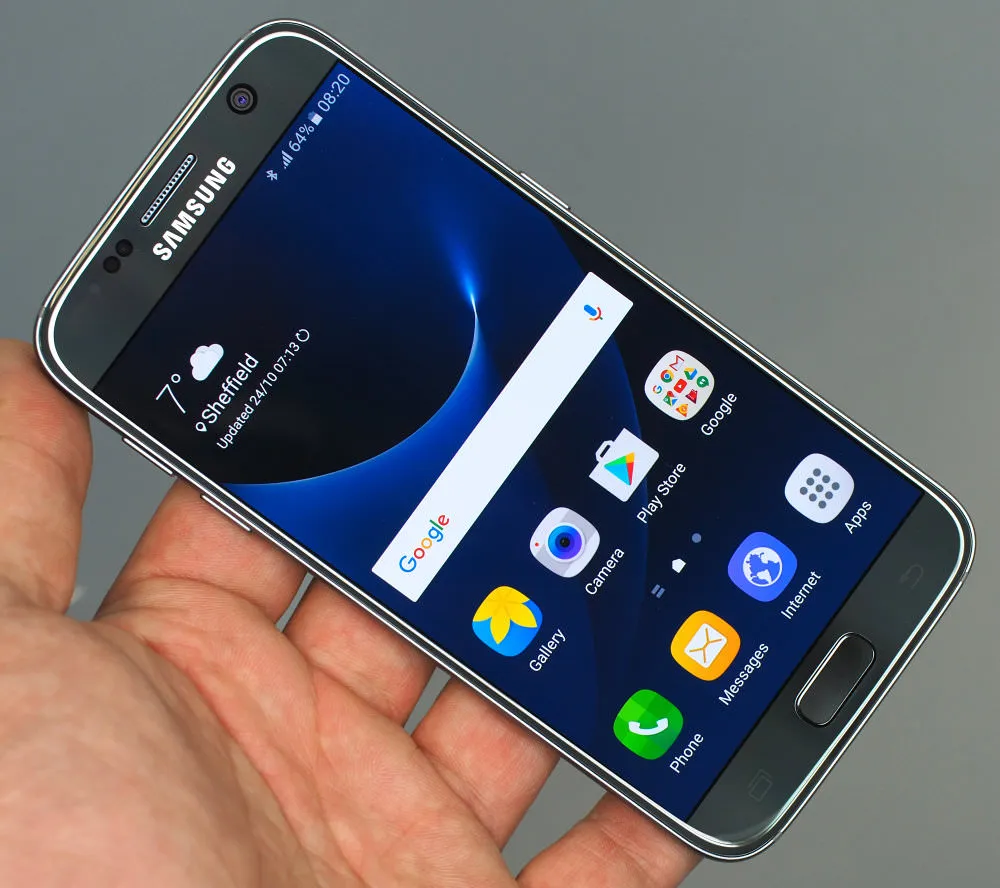
I wrote this guide after combining the official LineageOS instructions with a modified recovery-flashing sequence that worked on my Galaxy S7.
Supported variants
- SM-G930F
- SM-G930FD
- SM-G930S
- SM-G930K
- SM-G930L
- SM-G930W8
Downloads
- TWRP recovery TAR for herolte or hero2lte, as appropriate for the exact device
- Odin 3.12.3 with the Galaxy S7 fix
- LineageOS for herolte or hero2lte
- LineageOS Superuser package
- OpenGApps for ARM64 if Google applications are wanted; the original installation used the Nano package
Installation
-
Open Settings > About device > Software info, then tap Build number seven times.
-
Return to Settings > Developer options and enable OEM unlocking.
-
Power off the phone, then hold Volume Down + Home + Power to enter Download Mode. Press Volume Up to continue past the device warning.
-
Connect the phone to the Windows PC.
-
Open Odin, select Options, and disable Auto Reboot.
-
Select AP, choose the downloaded TWRP
.tarfile, and start the flash. -
After Odin finishes, hold Volume Down + Power until the charging-battery screen appears.
-
Disconnect the USB cable, then hold Volume Up + Home + Power until the Galaxy S7 logo appears to boot directly into recovery. This immediate recovery boot is important; otherwise the stock system may overwrite TWRP and require repeating the Odin step.
-
In TWRP, open Wipe > Format Data, enter
yes, then use Advanced Wipe for the partitions required by the installation. -
Copy the LineageOS, Superuser, and optional OpenGApps ZIP files to the phone. You can use Windows Explorer, a Micro-USB OTG drive, or ADB:
adb push filename.zip /sdcard/ -
In TWRP, install LineageOS first, followed by Superuser and OpenGApps if those packages are wanted.
-
Reboot into the newly installed operating system.
References
- LineageOS 14.1 installation guide for herolte — Heimdall returned
Failed to access device. libusb error: -12in the original setup. - Video referenced during the original installation — it omitted several steps included above.