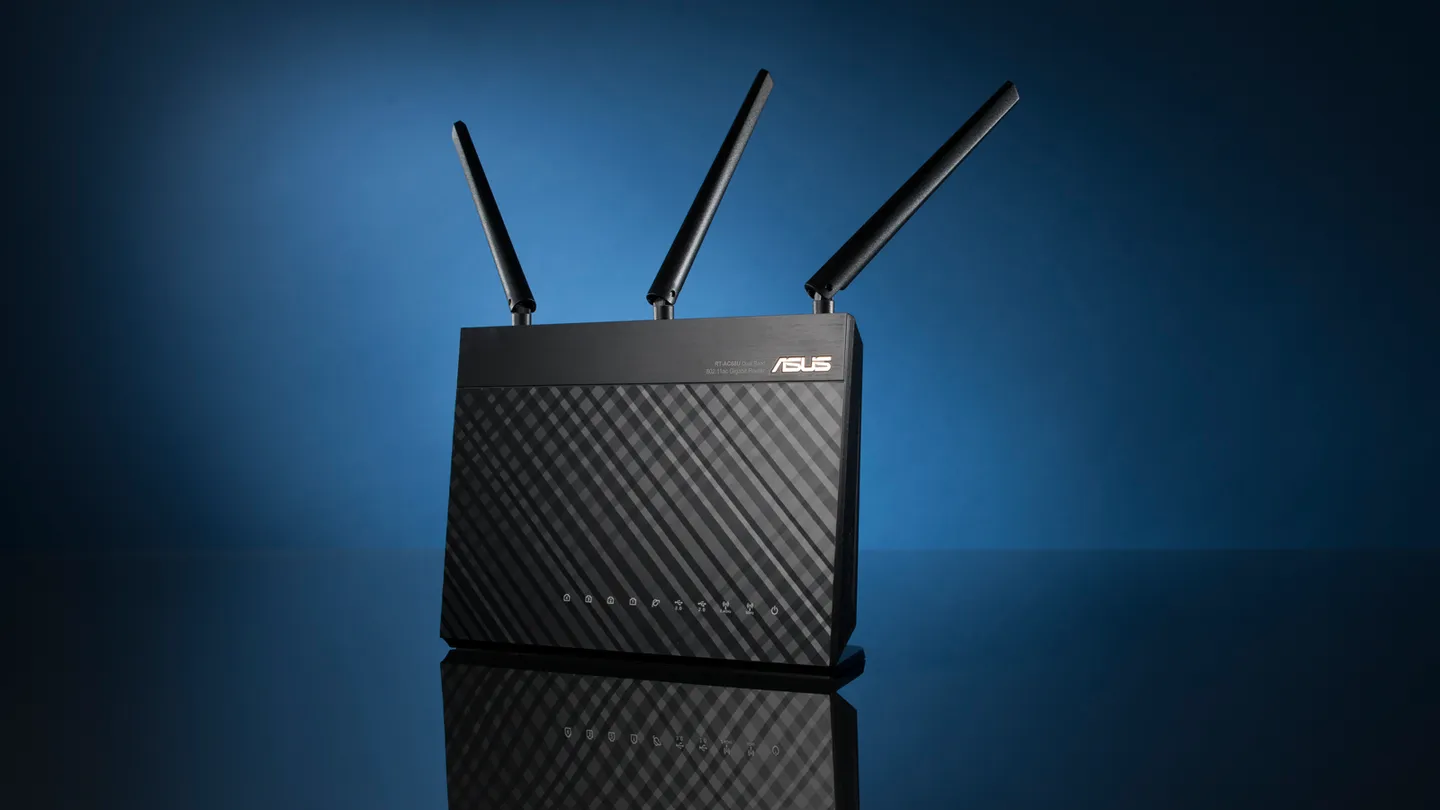
This guide covers the method I use to convert a TM-AC1900 to the RT-AC68U or RT-AC68P configuration.
Tools and files
You will need WinSCP, PuTTY, a file archiver, the ASUS Restore Utility, and the conversion files referenced below.
Conversion procedure
-
Install WinSCP, PuTTY, and a file archiver. Ninite can install all three. Also install ASUS Firmware Restoration from the official RT-AC68U support page.
-
Create a folder named
routeron the desktop. -
Download the conversion archive and extract it into the
routerfolder. It contains the downgrade firmware, upgrade firmware, andmtd-write. -
Assign the PC a static IPv4 configuration:
IP address: 192.168.29.5
Subnet mask: 255.255.255.0
Gateway: 192.168.29.1
In Windows, open
ncpa.cpl, open the Ethernet adapter properties, then edit Internet Protocol Version 4 (TCP/IPv4). -
Put the router into Recovery/Restore mode. Begin with the router powered off. Hold the Reset button, turn the router on, and continue holding Reset for 10 seconds.
-
Open
http://192.168.29.1in a browser. If the Mini-CFE page does not load, use the ASUS Restore Utility. If neither works, perform the NVRAM reset described in Step 18 and retry this step. -
Flash
TM-AC1900_3.0.0.4_376_1703-g0ffdbba.trx. -
Allow up to five minutes for the router to reboot. The Wi-Fi lights turn on when booting is complete.
-
Sign in to the router with username
adminand passwordpassword. -
Open Administration > System, set Enable SSH to Yes, and select Apply. You can also open the direct settings page.
-
Connect PuTTY and WinSCP to
192.168.29.1. Use SSH in PuTTY and select SCP as the file protocol in WinSCP. Depending on the firmware state, the credentials may beadmin/adminoradmin/password. -
In PuTTY, create a backup of the original CFE:
cat /dev/mtd0 > original_cfe.bin -
Refresh the remote pane in WinSCP and confirm that
original_cfe.binis present. -
Copy
original_cfe.binto a local drive and preserve that untouched backup. -
Upload
original_cfe.binto the CFE editor. Select 1.0.2.0 US AiMesh as the source CFE, download the generated file, and rename itnew_cfe.bin. -
Upload
new_cfe.bin,mtd-write, andFW_RT_AC68U_30043763626.trxto the router with WinSCP. -
In PuTTY, run:
chmod u+x mtd-write ./mtd-write new_cfe.bin boot mtd-write2 FW_RT_AC68U_30043763626.trx linux -
Perform an NVRAM reset, then allow up to five minutes for the router to reboot:
- Power off the router.
- Wait 10 seconds.
- Press and hold the WPS button.
- Power on the router and continue holding WPS for 15–20 seconds, until the Power LED begins blinking rapidly.
-
Return the PC’s IPv4 configuration to its previous automatic settings.
-
Sign in at
http://192.168.1.1. The router should now identify as an RT-AC68U with 64 MB of JFFS. The default username and password areadmin/admin. -
Enable SSH as described in Step 10, then run the MTD5 repair commands below. The direct settings page is available at the router’s new address.
-
After the repair is complete, the router can accept compatible ASUS, Asuswrt-Merlin, AdvancedTomato, FreshTomato, Tomato, or DD-WRT firmware.
Repair the MTD5 partition
Enter these commands in PuTTY after enabling SSH on the converted router:
cat /dev/mtd5 > /jffs/mtd5_backup.bin
mkdir /tmp/asus_jffs
mount -t jffs2 /dev/mtdblock5 /tmp/asus_jffs
rm -rf /tmp/asus_jffs/*
sync && umount /tmp/asus_jffs
rm -rf /jffs/.sys/RT-AC68U
nvram unset fw_check && nvram commit && reboot
References
- SNBForums flash instructions: flashInstructions_cDec04_16.pdf
- Bootymonger on Slickdeals
- CFE editor
- Additional notes from Albert Lee
Compatible firmware resources
Helpful information
- ASUS Rebadger is a script that automates this process on a Windows 10 PC.
- Merlin and official builds provide hardware acceleration, which may improve throughput on faster internet connections.
- Check the router CPU speed on the System Information page.
- If a 30/30/30 reset does not work, power off the router, hold Reset for 20 seconds, then power it on while continuing to hold Reset until the Power light blinks slowly.
- If Mini-CFE and the ASUS Restore Utility both fail, consult the linked discussions before repeating a flash.
- Additional discussion is available on the Whirlpool forums.
Restoring the RT-AC68U configuration after a rollback
- The previously linked Google Docs restoration instructions are no longer available.
- Mega.nz mirror